Finishing the foundation was a prerequisite to completing the final floor plan. I had to know the exact length and width and location of the wheel well before I could draw the wall framing plan. As a result, I could not put my door where I wanted it. The door ended up in the living room. Why a side door? Because I want a porch when the house in its permanent location. A porch expanding the 'living area by creating an outdoor room. I also learned side doors on RV sites are placed on the passenger side (starboard) of the tiny house So, if you are considering an RV park as a location, the concrete slab will most likely be on the passenger side of the tiny house.
I covered the trailer with a tarp for the 2-3 weeks construction was paused. During that time, I drew detailed wall framing plans on paper. Each wall took me about 2-3 hours to draw, incredible as it sounds. The key was to plan to have a stud every 24" regardless of where doors and windows are. Again, if the total length of the house was divisible by 4' it would not have taken so long and used less lumber.
 |
| Tongue Wall - The first wall raised. |
Over the course of two days, three of us raised four walls. The first wall built and raised was the tongue wall. The second wall was the opposite wall and will contain a box window. We built the two short walls to 'get our feet wet' and feel a sense of accomplishment. Yea!
 |
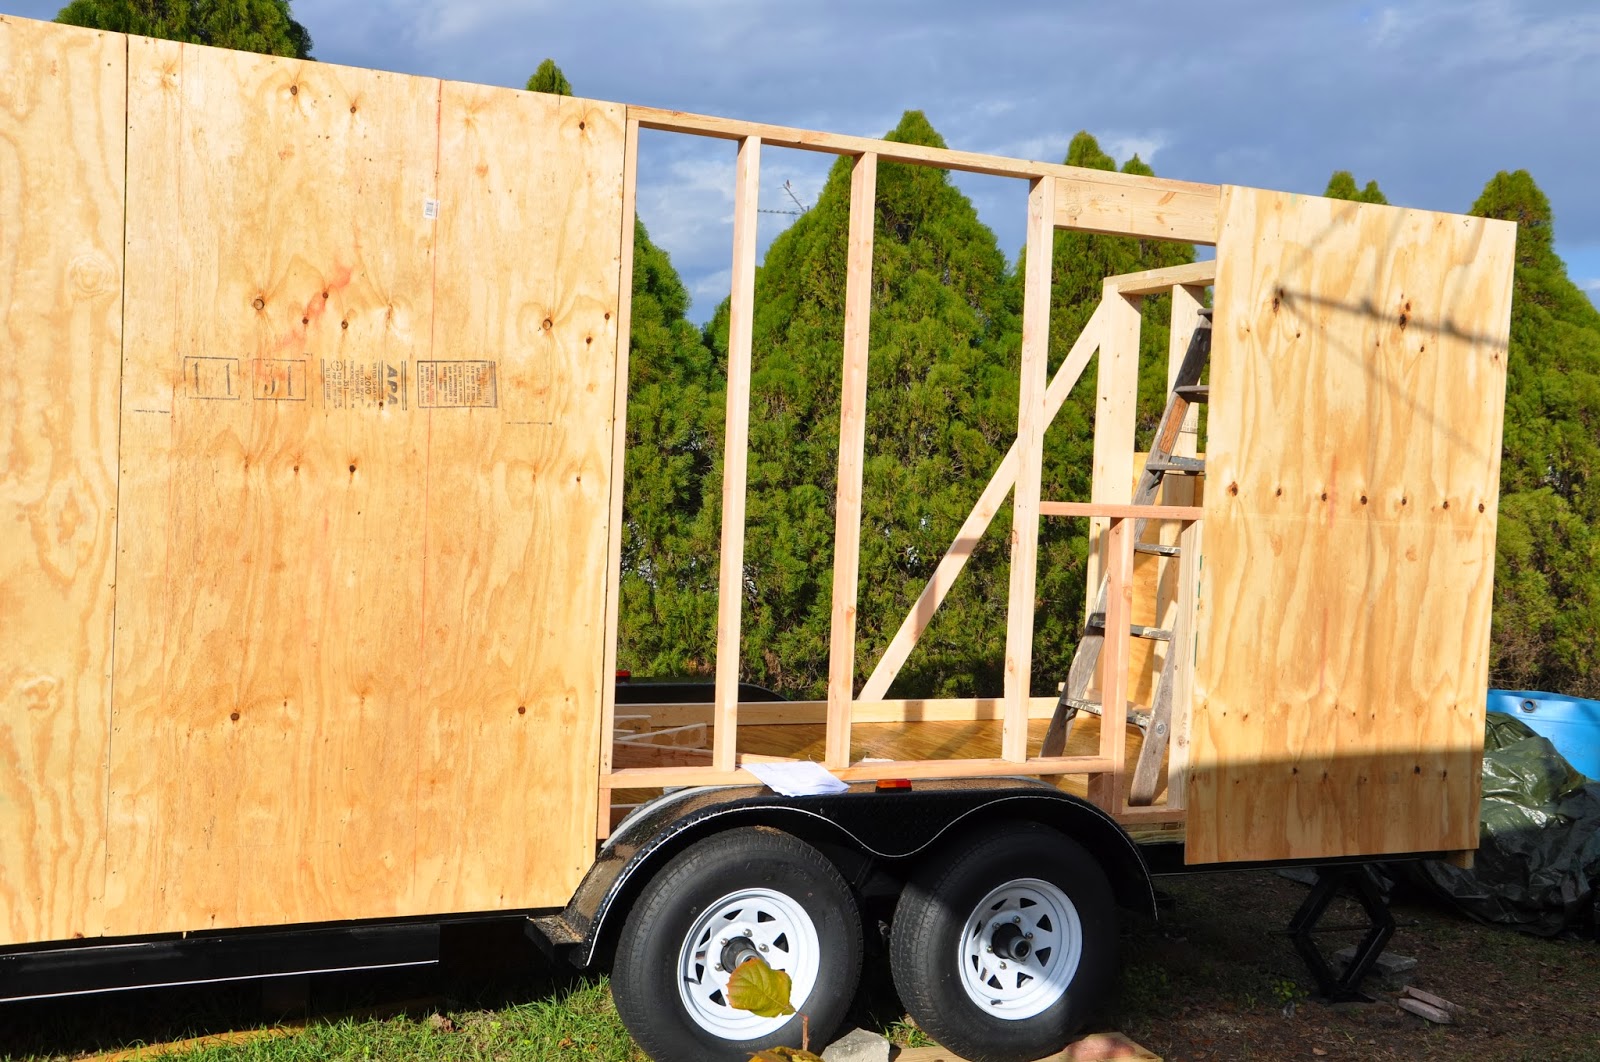
| Box window wall erected; second half of long being framed. |
 |
| First half of long wall. |
 |
| Second half of long wall erected |
We plumbed the walls and attached braces as shown in the pictures. Except for the walls above the wheel wells, we sheathed the walls before erecting them.
 |
| Long wall fully sheathed. |
The two long walls were built in two sections. The hardest part of the entire process building the framing and sheathing around the wheel wells. After two failed tries at cutting the sheathing, our third attempt was successful. After erecting the first long wall, the second one was a 'no brainer.' That's called on the job training. The few mistakes we made on the first wall was avoided on the second long wall!
I did two things to prevent water from moving over the wheel well into the trailer. First, I installed strip of 3/8" of weather stripping (used for doors and windows) to provide the first line of defense against water intrusion. Second, I applied a thick bead of silicone to direct any water that got past the weather stripping back to the outside. I cleaned the entire area well with alcohol so that the silicone and weather stripping would adhere firmly.
After raising the walls, I used a router to cut out the windows...simple! I'm not sure it was worth buying a router for, but I hope to do more with it once I get to building cabinets.
My wall at the end will contain a box window. I think it will make the living room feel larger, give me some space for indoor plants and adds an architectural feature which I hope will reduce the 'box' look. The box window remains undone since no one with has experience building a box window. There are no YouTube videos and my drawings were are not 3D, so building and designing at the same time was a good option. After I built the box window, I have decided to build another that is a bit larger so I can have some trim around the window itself. This time, I am planning on using dry Spruce timber to reduce the overall weight.
On the third day, we nailed the hurricane strap around the entire tiny house. That was easy task since the braces between the studs were exactly 39" above the floor. We snapped a chalk line at that height on the sheathing and started screwing every other hole (~ every 6 inches.) We then installed the Tyvex-like moisture barrier since rain was foretasted. Unfortunately, when I watched the Tumbleweed DVD, I realized that the strap should have been *behind* the sheathing not on top of it. Oh well. I suspect the functionally not substantially different. I put a strip of duct tape over the metal strip to reduce the chance that the sharp edge of the strap would somehow cut the Tyvex and compromise the moisture barrier. Another lesson: make a list of things to do so you don't forget a step.
 |
| Tiny house kept dry with tarp and bungee cords |
Apparently there are special staples and fasteners for Tyvex. I just used a staple gun to put up the moisture barrier. Even the moisture barrier was 9' wide, it was quite to unroll and staple. The last step for this build weekend was to put up a temporary ridge board allowing the tarp to shed water effectively. Bungee cords were perfect to hold the tarp down tightly. It rained for three days. Each day I checked for leaks. None found!